The Unseen World: The History and Magic of Macro Photography
Macro photography changes the scale of attention. A leaf becomes a landscape of veins, a soap bubble turns into a shifting map of colour, and the eye of an insect reveals geometry that is easy to miss at normal viewing distance. The appeal is not simply that small things look bigger. It is that close-up photography makes familiar subjects strange, detailed, and unexpectedly expressive.
Modern macro photography sits at the meeting point of science and visual curiosity. Its roots lie in the microscopes that first exposed structures beyond ordinary sight; its present-day magic comes from photographers using specialised lenses, careful lighting, and patient technique to make those structures visible in a single frame.
From early microscopes to photographic evidence
Long before cameras could record tiny subjects, lenses were already transforming science. Magnifying instruments existed in various forms for centuries, but the development of compound microscopes in the late sixteenth and seventeenth centuries opened a new way of observing the natural world.
In the seventeenth century, Robert Hooke used a microscope to study and illustrate small specimens in Micrographia, a landmark publication whose detailed drawings helped bring microscopic observation to a wider public. Antonie van Leeuwenhoek, working with powerful single-lens microscopes, observed microorganisms and other tiny structures that had previously been unknown to science.
Those discoveries mattered because they changed scale from an abstract idea into something observable. A drop of water was no longer just water; it could contain living organisms. A piece of cork was no longer a uniform material; it was made up of small compartments, which Hooke described as “cells.”
Photography eventually extended that work. Once photographic processes became practical in the nineteenth century, researchers began attaching cameras to microscopes to document what they saw. This field is generally called photomicrography: photography made through a microscope. It remains essential in fields including biology, materials science, medicine, and forensic work.
Macro photography is related, but it is not quite the same thing. A macro lens photographs small subjects directly, without a microscope, usually at close focusing distances. The two approaches share a purpose—revealing detail beyond casual vision—but they operate at different levels of magnification.
What “macro” really means in photography
In its strict technical sense, a true macro lens can reproduce a subject on the camera sensor at life size, or a 1:1 reproduction ratio. At 1:1, a 10mm-long insect occupies 10mm on the sensor. Because a camera sensor is much smaller than a print or screen, the insect appears considerably larger in the final image.
This is often confused with close-up photography. A lens may focus closely and produce pleasing images of flowers, jewellery, or food without reaching 1:1 magnification. That does not make it less useful; it simply means the lens is designed for close focusing rather than dedicated macro work.
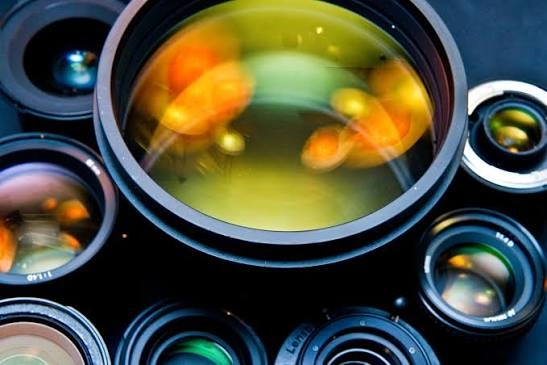
Macro lenses are especially valued because they are corrected for sharpness at short distances. They are commonly available in focal lengths ranging from roughly 50mm to 200mm, with each range changing how you work.
- Short macro lenses are useful for small objects, documents, tabletop work, and controlled studio setups. They require the photographer to work very close to the subject at high magnification.
- Medium focal lengths, often around 90mm to 105mm, offer a practical balance of working distance, portability, and background control.
- Longer macro lenses provide more space between camera and subject. That can be helpful with cautious insects, though longer focal lengths can make camera movement more noticeable.
Working distance matters more than many beginners expect. The distance is measured from the front of the lens to the subject, not from the camera body. A longer working distance can prevent the lens from shading a flower, disturbing an insect, or blocking room for a small light source.
The abstract beauty hidden in ordinary nature
Macro photography has a scientific history, but it does not need a scientific subject. Its visual power often comes from abstraction. At close range, texture and pattern can become more important than the identity of the object itself.
The surface of a feather can resemble layered brushstrokes. Frost on a window can read like an aerial view of branching rivers. The scales on a butterfly wing may become a field of colour and repeating forms. A slice of fruit, photographed with backlight, can look less like food than stained glass.
This is where close-up photography becomes a useful exercise in seeing. Instead of asking, “What is this?” try asking:
- Where does the eye land first?
- Which texture carries the image?
- Does the subject work better as a recognisable object or as an abstract pattern?
- Would a small shift in angle separate the subject from the background?
- What changes if the light comes from behind, from the side, or through the subject?
Natural subjects offer an endless supply of material: seed heads, bark, fungi, lichen, shells, leaves, flowers, ice, stones, and droplets. The best subjects are not always rare or colourful. A dry leaf with strong veins can be more compelling than a perfect flower if the light reveals its structure.
Why focusing becomes difficult at high magnification
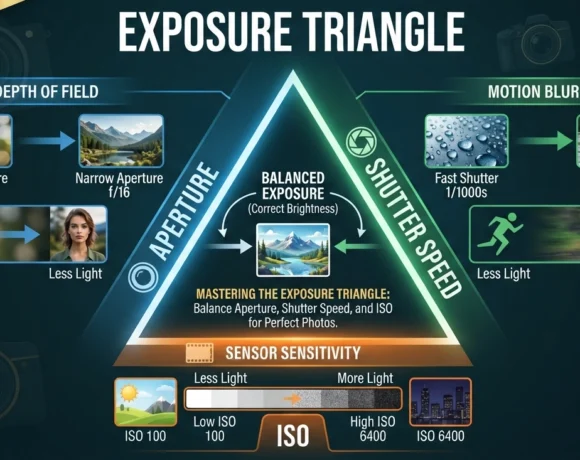
As magnification increases, depth of field becomes extremely shallow. At close range, even an aperture such as f/8 may render only a thin slice of a subject sharply. With an insect, the near eye may be sharp while the far eye is already soft. With a flower, one petal edge may be in focus while the centre fades away.
Stopping down to f/11 or f/16 increases depth of field, but it is not a free solution. Smaller apertures require more light or slower shutter speeds, and very small apertures can reduce fine detail through diffraction. The most useful aperture depends on the lens, magnification, subject depth, and the final image size.
For a single-frame macro image, the most important decision is often where to place the plane of focus. On an insect portrait, the nearest eye is usually the priority. On a flower, align the camera as parallel as possible to the area you want sharp. If the camera sensor and the subject plane are parallel, more of that surface can fall within the available depth of field.
Manual focus is often effective for static subjects. Rather than turning the focus ring constantly, set the desired magnification and move the camera gently forward and backward until the critical detail appears sharp. A tripod, focusing rail, or stable support makes this much easier.
Focus stacking for subjects that will not fit in one plane
When a subject has real depth—such as a beetle, watch mechanism, mineral specimen, or small flower—focus stacking can produce a result that one exposure cannot. The technique involves making a series of images, shifting focus slightly through the subject, then blending the sharp areas in editing software.
It works best when both camera and subject remain still. Indoors, a tripod and controlled lighting are ideal. Outdoors, even a light breeze can move petals or stems between frames, creating blending problems. Focus stacking is powerful, but it is not always necessary. A selective-focus image can feel more natural and may direct attention more effectively than complete sharpness.
Light is the tool that makes tiny worlds visible
Macro photography needs more light than it first appears. Close focusing reduces the amount of light reaching the sensor, small apertures are commonly used, and handheld shooting needs a shutter speed fast enough to control camera shake and subject movement.
Daylight can be beautiful, particularly soft overcast light, but it is often too gentle for high-magnification insect photography. A small flash, diffuser, or reflector can make an enormous difference. The goal is rarely harsh, obvious flash. It is broad, soft illumination placed close to the subject.
A simple setup for a flower or still-life subject might include a window as the main light and a piece of white card opposite it to lift shadows. For a small insect or detailed natural specimen, a diffused flash can freeze movement and allow an aperture around f/8 to f/11 without forcing an impractically slow shutter speed.
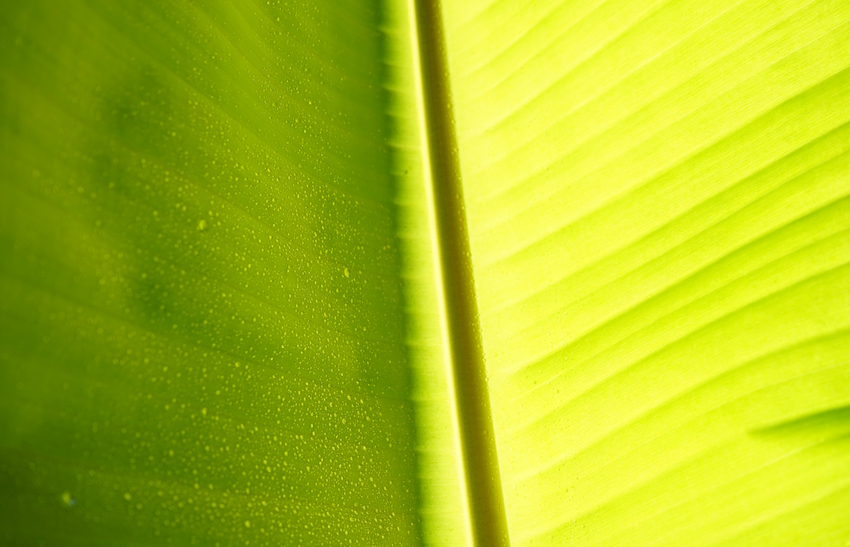
Side-lighting is particularly useful for texture. It reveals ridges in bark, the raised grain of a leaf, or the fine hairs on a stem. Backlighting can make translucent petals, wings, and leaves glow. Before changing lenses or adding equipment, move the light or change the subject’s angle by a few centimetres. At macro scale, that small adjustment can completely alter the image.
Ways to explore macro photography without a dedicated macro lens
A dedicated macro lens is the most straightforward option, but it is not the only way to begin. Extension tubes fit between a camera body and a compatible lens, allowing the lens to focus closer. They contain no optics, though they reduce the lens’s ability to focus at distant subjects.
Close-up filters, sometimes called dioptres, attach to the front of a lens and act like magnifying glasses. Quality varies, but a good achromatic close-up lens can be a practical option for photographers who want more magnification without carrying another lens.
Reversing a lens or using bellows can achieve high magnification, but both approaches demand more patience. Aperture control, working distance, and lighting can become awkward. They are better suited to deliberate experimentation than fast-moving outdoor work.
Whichever route you choose, start with a subject that stays still. A coin, dried seed pod, small shell, fabric weave, or houseplant lets you practise focus placement and lighting before you add the challenge of a moving insect.
Scale is part of the story
Macro photographs can make a tiny subject look monumental, and that ambiguity is part of their charm. But scale also affects meaning. A frame filled with a flower’s centre can become an abstract burst of colour; include part of the petals and the viewer understands what it is. Neither approach is automatically better.
For editorial, educational, or scientific images, include enough context to help the viewer understand size. A wider companion frame, a recognisable feature of the plant or animal, or a carefully placed scale reference can be useful where appropriate. For expressive work, removing context may be exactly what gives the photograph its mystery.
The lasting appeal of macro photography is that it rewards attention more than rarity. A patch of moss on a wall, a fallen leaf after rain, or a bee visiting a garden flower can hold far more visual information than the eye gathers in passing. The camera does not merely enlarge that world. Used thoughtfully, it helps us notice that it was there all along.