A Beginner’s Guide to Architectural and Property Photography
A well-photographed property does more than show where the rooms are. It gives viewers a sense of space, light, materials, and the way a building might feel at different times of day. That makes real estate and architecture photography a mix of technical control, visual storytelling, and practical problem-solving.
The good news is that you do not need an enormous kit to make strong property images. You need a reliable process, careful preparation, and the patience to make small adjustments that improve the whole frame. This guide covers the essentials, from planning and equipment to composition, lighting, editing, and delivery.
Understand Real Estate and Property Photography
Real estate photography is usually designed to help a property attract buyers, renters, or guests. The images need to be clear, inviting, accurate, and efficient to produce. You may photograph an entire home in a short appointment, including bedrooms, bathrooms, outdoor areas, and important details.
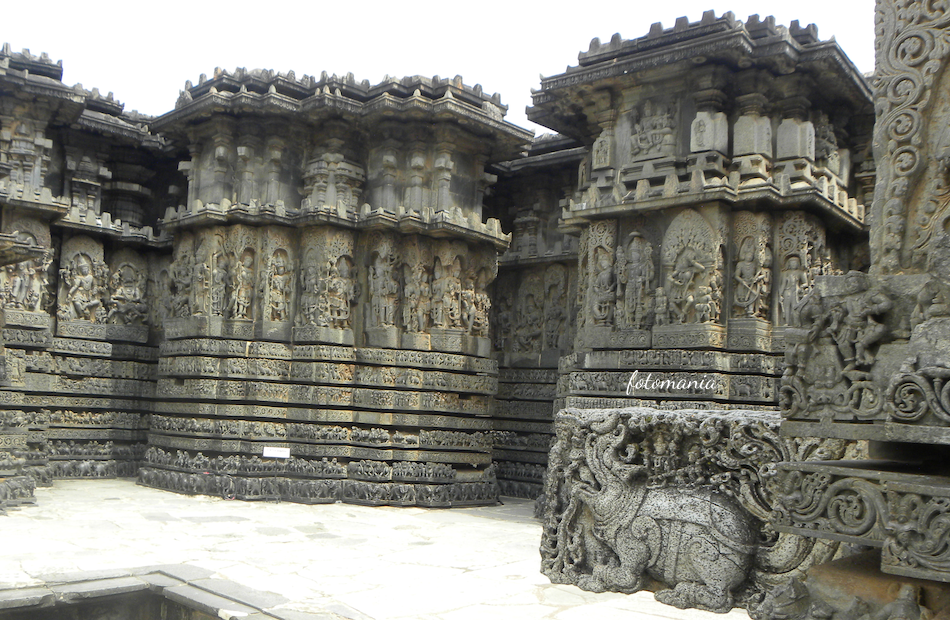
Architecture photography is often more deliberate. The purpose may be to document a designer’s work, create images for a portfolio, or show how a building relates to its surroundings. You have more freedom to wait for the right light, explore unusual viewpoints, and make the structure itself the subject.
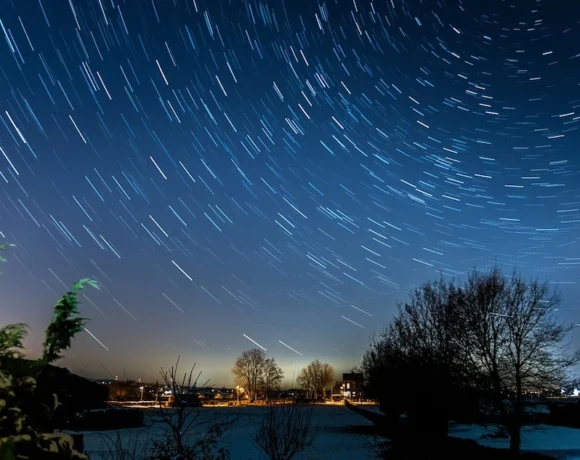
The distinction matters because it affects your choices. A real estate image might show an entire living room from a practical corner. An architecture image might isolate the curve of a staircase or use a long exposure to connect a building with its evening surroundings.
Plan Before You Arrive
A few minutes of planning can save an hour of rushed shooting. Ask the client about the property, the intended use of the images, and any areas that must be included. If possible, review a floor plan or online listing before the visit.
Make a short shot list covering:
- The front exterior and main approach
- The best view of the living room or principal interior
- The kitchen, primary bedroom, and key bathrooms
- Distinctive architectural details
- Outdoor spaces, views, and useful amenities
- Vertical and horizontal images if the client needs both formats
Check the weather and the direction of the sun. A west-facing facade may look flat in the morning but beautifully shaped late in the day. A bright overcast afternoon can be ideal for an exterior with deep shadows, while a clear evening may suit a building with strong interior lighting.
Choose a Practical Camera Kit
A full-frame camera is helpful in tight interiors, but it is not essential. A modern crop-sensor camera can produce excellent results when paired with the right lens and careful technique.
Essential equipment
- Wide-angle lens: A lens in the 14mm to 24mm range on full frame is useful for interiors. Avoid using the widest setting automatically, since extreme wide angles can make rooms look distorted.
- Standard zoom: A 24mm to 70mm equivalent lens works well for details, exteriors, and more natural-looking room views.
- Sturdy tripod: This keeps vertical framing consistent and makes slower shutter speeds possible.
- Remote release or self-timer: Reducing contact with the camera helps prevent movement during long exposures.
- Spare batteries and memory cards: Property shoots can produce many files, especially when using exposure brackets.
- Small cleaning kit: Dust on a window, sensor, or lens becomes much more noticeable against bright walls and skies.
A tilt-shift lens can help with perspective control, especially for tall buildings and polished architectural work. It is useful, but not a requirement. You can often achieve good results by keeping the camera level and correcting minor perspective issues during editing.
Prepare the Property First
Good preparation is one of the easiest ways to improve real estate photography. Before setting up the camera, walk through the property and look at it from the height and angle you intend to use.
Remove visual distractions such as bins, loose cables, unnecessary cleaning products, excess furniture, and personal items. Straighten cushions, align chairs, close toilet lids, and open blinds evenly. In a kitchen, clear most items from the worktops but leave one or two purposeful details if they help the room feel lived in.
Do not hide problems that a buyer or visitor needs to understand. Instead, present the space honestly and neatly. Moving a chair to improve circulation is helpful; digitally changing the size of a room is misleading and damages trust.
Keep Vertical Lines Straight
One of the clearest signs of rushed property photography is leaning walls and door frames. This happens when the camera points upward or downward. The wider the lens, the more obvious the effect becomes.
Set the camera on a tripod and keep it level. Use the electronic level if your camera has one, and check door frames, cabinets, and window edges around the frame. In most rooms, the camera should be positioned roughly at chest height, though a slightly lower viewpoint can make furniture feel more prominent.
Perspective correction in software can rescue small errors, but heavy correction reduces image quality and may crop away important parts of the room. Getting the camera position right is faster and cleaner.
Compose Rooms So They Feel Connected
A strong interior image usually shows how the room works, not just how much furniture it contains. Look for relationships between spaces. A view from the living room into the dining area can communicate the layout more effectively than two isolated frames.
Use doorways, beams, stairs, and furniture edges as compositional guides. Leave enough space around key objects so the frame does not feel cramped. If a room has an attractive view, include it without allowing bright windows to dominate the image.
Do not place the camera in the most extreme corner simply to fit more into the frame. This can create stretched furniture and exaggerated room dimensions. Move a little closer to the center and choose a less aggressive focal length when possible.
Work With Natural and Artificial Light
Natural light often gives interiors the most believable result. Turn on lamps and practical fixtures when they add warmth or show how the property is used, but check their color. A warm table lamp beside cool daylight can create an unattractive color imbalance.
For a simple natural-light approach:
- Open curtains and blinds evenly.
- Turn off lights that produce distracting color casts.
- Expose carefully for the room and protect bright windows where possible.
- Use a tripod and a slower shutter speed instead of raising the ISO too far.
- Take a second frame if you need a cleaner exposure for the windows.
For higher-end work, off-camera flash can shape a room and control contrast. Bounce flash into a white ceiling or wall for a softer effect, taking care not to create bright hotspots. Multiple flashes can provide consistency, but they require careful control of reflections in mirrors, windows, and glossy surfaces.
Use Exposure Bracketing Carefully
Bright windows and dark interiors often exceed the camera’s dynamic range. Exposure bracketing solves this by recording several frames at different exposures. You can blend them manually or use high dynamic range software, but the result should remain natural.
Start with three exposures separated by around two stops, then check the highlights and shadows. More frames are not automatically better. If people, curtains, trees, or lights move between exposures, blending can create ghosting and strange edges.
When processing a bracketed set, keep an eye on window frames, furniture edges, and reflective surfaces. These areas reveal poor alignment quickly. A balanced image should retain detail without turning every shadow grey or every window into a perfectly featureless rectangle.
Photograph Exteriors at the Right Time
Exterior architecture changes dramatically with the sun. Side light reveals brick, stone, concrete, and textured cladding. Front light gives a clean and readable view, while backlight can create a strong silhouette or glowing glass.
The period shortly after sunset is especially useful for buildings with interior lights. The sky still holds color, while the windows begin to glow. This short window can disappear quickly, so have the composition ready before the light reaches its best balance.
Include the surroundings when they explain the building. A house may need its garden and street context; a civic building may benefit from nearby trees or public space. Remove temporary distractions where appropriate, but do not erase the setting that gives the architecture meaning.
Pay Attention to Details
Wide views establish the property, but detail images give the set character. Look for materials, joinery, handles, tiles, stair rails, lighting fixtures, and unusual transitions between old and new construction.
Use a longer focal length for details when possible. It helps isolate the subject and reduces the distortion common with very wide lenses. Details should support the larger story rather than become a random collection of attractive objects.
Edit for Accuracy and Consistency
Begin by selecting the best frames, not by editing every image. Remove duplicates, accidental camera movement, awkward reflections, and frames with people or objects in distracting positions.
During editing, concentrate on:
- White balance: Keep walls neutral unless the existing light is intentionally warm.
- Lens correction: Fix barrel distortion and edge stretching before judging the composition.
- Vertical correction: Straighten buildings and interior lines with restraint.
- Highlight recovery: Preserve window and sky detail without making the image look dull.
- Shadow control: Lift dark areas enough to show information while keeping depth.
- Color consistency: Make the full set feel like one visual story.
Be cautious with object removal and sky replacement. Minor cleanup can improve presentation, but major changes should be discussed with the client and disclosed when they alter the property’s appearance.
Deliver Images That Are Easy to Use
Ask where the photographs will appear before exporting them. A property website, printed brochure, social media post, and design portfolio may all require different dimensions and file sizes.
Deliver high-resolution JPEG files in a clearly named folder. Keep filenames simple, such as property-room-view, and separate web-sized copies if needed. Preserve the original RAW files and finished exports until the project is complete and the client has confirmed delivery.
Build a Repeatable Workflow
The most dependable photographers follow the same basic sequence on every job: inspect, prepare, compose, level the camera, capture wide views, photograph details, review the files, and back everything up.
Review your work after each shoot. Notice which rooms felt empty, where highlights were lost, and whether your vertical lines stayed consistent. Small improvements compound quickly. A clean workflow also leaves more time for the creative decisions that make architecture photography memorable.
A property photograph succeeds when it helps someone understand the space before they visit. The best frame is not always the widest, brightest, or most dramatic. It is the one that makes the building feel believable, considered, and worth exploring. Take that approach on your next shoot, then share the results with the Fotomania community and compare notes with other photographers.