Must-Have Camera Filters for Stunning Landscape Photography
Landscape photography often asks more of a camera than a single exposure can comfortably deliver. A bright sky, dark foreground, reflective water, and changing light may all appear in the same frame. Camera filters help manage those conditions at the moment of capture, giving you more control over reflections, shutter speed, and the balance between sky and land.
The most useful landscape photography filters are not all designed to make an image look more dramatic. Some solve practical exposure problems; others reduce glare or protect the front element of a lens. Used thoughtfully, they can produce a more natural-looking file and give you greater flexibility before you reach for heavy editing.
The essential filter: a circular polarizer
A circular polarizing filter, usually called a CPL, is one of the most versatile filters for outdoor photography. Its rotating front ring allows you to control how much polarized light reaches the sensor.
The effect is easiest to see on non-metallic reflective surfaces. A CPL can reduce glare on lakes, rivers, wet rocks, and foliage, allowing color and texture to show through. It can also deepen the appearance of a blue sky, particularly when the camera is pointed roughly 90 degrees away from the sun.
That last point matters. Polarization is not equally strong across the entire sky. At a wide angle of view, the filter may darken one part of the sky more than another, creating an unnatural-looking band. Rotate the filter while looking through the viewfinder or at the screen, and check the whole composition rather than judging only one corner.
When a polarizer helps
- Reducing reflections on water and wet foliage
- Increasing apparent color and contrast in a hazy landscape
- Controlling glare on leaves, rocks, and painted surfaces
- Adding depth to scenes photographed in bright daylight
A CPL also reduces the amount of light entering the lens, often by around one to two stops depending on the filter and its position. That can be useful, but it is not the main reason to buy one. Avoid leaving it at maximum effect automatically: sometimes a small reduction in reflection looks more natural than a completely glare-free scene.
Neutral density filters for longer exposures
A neutral density filter, or ND filter, darkens the entire frame without intentionally changing its color. This lets you use a slower shutter speed or a wider aperture than the available light would normally allow.
For landscape work, the most common uses are creative rather than corrective. A long exposure can smooth moving water, soften waves, or turn moving clouds into subtle streaks. ND filters are also useful when you want a particular shutter speed in bright conditions—for example, to blur a waterfall while keeping the rest of the composition sharp.
Choosing ND strength
ND filters are commonly described by optical density, filter factor, or stop reduction. The higher the strength, the more light the filter blocks. A lighter filter may be enough around sunrise, sunset, or on an overcast day. Stronger filters are more useful in full daylight when you want exposures lasting several seconds or longer.
Variable ND filters offer adjustable density by rotating the filter. They can be convenient, particularly for travel or video, but very wide-angle lenses and high-density settings may reveal uneven darkening or a cross-shaped pattern with some designs. Fixed ND filters are often simpler when you want predictable results.
Before attaching a strong ND filter, compose and focus while the view is bright. Then switch to manual focus if your focus distance should remain fixed, fit the filter, and adjust the exposure. With mirrorless cameras, an electronic viewfinder may still show a preview, but the display can become very dark with a dense filter, so temporarily changing the viewing or exposure-preview settings may help.
Graduated ND filters for bright skies
A graduated neutral density filter, or GND, is dark at one end and clear—or much lighter—at the other. It is designed to reduce the brightness of part of the frame while leaving the rest relatively unaffected.
This is especially useful when a bright sky sits above a darker foreground. Without filtration, exposing for the sky may leave the land too dark; exposing for the foreground may overexpose clouds and lose detail. A GND narrows that difference, making it easier to record detail in both areas.
Soft, hard, and reverse graduations
- Soft-edge GND: The transition from dark to clear is gradual, making it useful for uneven horizons such as mountains, trees, or buildings.
- Hard-edge GND: The transition is more defined and can work well with a clean, level horizon over the sea or a flat plain.
- Reverse GND: The darkest part sits near the transition and becomes lighter toward the top. It can suit scenes where the brightest area is close to the horizon, such as a sunset over water.
Graduated filters are most effective when the transition can be aligned with a natural boundary. They become harder to hide across prominent peaks, tall trees, or buildings. A rectangular filter system is generally more practical than a screw-in graduated filter because you can slide the filter up or down and place the transition exactly where the composition needs it.
Do not assume the darkest GND is always best. Use the lightest strength that brings the sky and foreground into a manageable range. An overly strong graduation can make the horizon look unnaturally dark, especially when the light is already soft.
Square filter systems versus screw-in filters
Landscape photographers typically choose between circular screw-in filters and a holder-based square system.
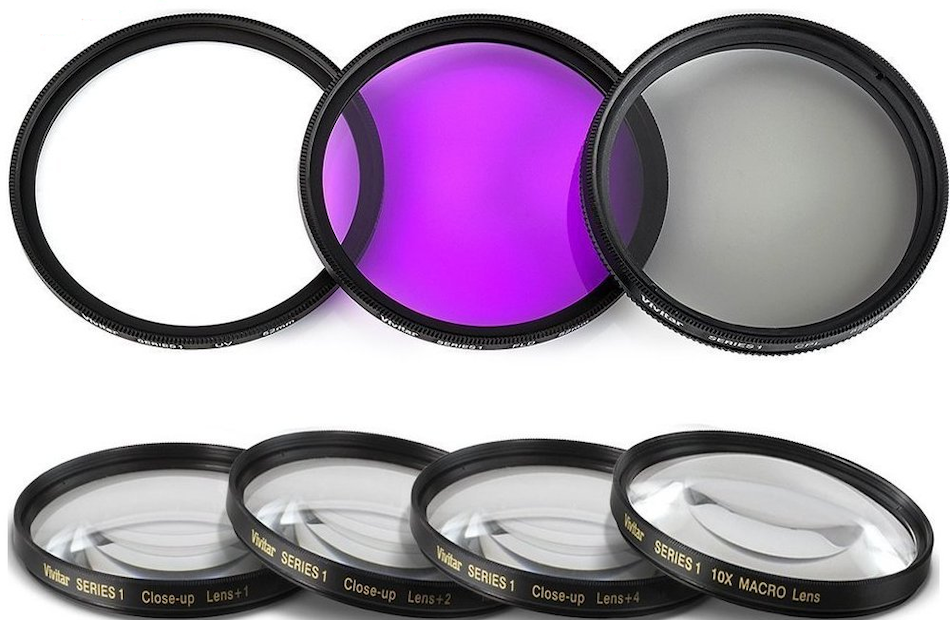
Screw-in filters attach directly to the lens’s filter thread. They are compact, quick to use, and convenient if you mainly need a CPL or one or two fixed ND filters. Each filter size fits a particular thread diameter, so photographers with lenses of different sizes may need step-up rings or separate filters.
Square or rectangular systems use an adapter ring and a holder mounted to the lens. The filters slide into slots in the holder. This makes rectangular GNDs much easier to position and can make it simpler to use the same filters across lenses with different front diameters, provided the appropriate adapter rings are available.
The trade-off is extra bulk and more components to carry. Wide-angle lenses also require careful attention to the holder design. A thick holder or an incorrectly fitted adapter can appear in the corners of the frame, producing vignetting.
UV and clear filters: useful, but not essential
Digital cameras do not generally need a UV filter to correct the kind of ultraviolet haze that affected some film photography. A clear or UV filter may still be used as a sacrificial layer against dust, spray, or accidental contact, particularly in demanding environments.
However, adding another glass surface can increase the risk of flare, ghosting, or reduced contrast when a bright light source is near the frame. A lens hood already provides useful physical protection and helps block stray light. If you use a protective filter, choose one that is optically suitable for your lens and keep it clean.
How to use filters without damaging image quality
Filters are most effective when they solve a clearly identified problem. Before fitting one, ask what the scene needs: reduced reflection, a slower shutter speed, or a better balance between sky and ground.
- Check the composition first. Use the camera without a dark filter to decide on focal length, framing, and focus.
- Watch the edges. A filter holder, step-up ring, or stacked filters can cause vignetting, especially with wide-angle lenses.
- Inspect for flare. Keep the filter surfaces clean and be cautious when the sun is near the frame. Repositioning the camera slightly may improve contrast more effectively than adding another filter.
- Use a tripod for long exposures. A stable camera is essential when the shutter speed drops below what you can reliably handhold. Turn off image stabilization if your camera or lens documentation recommends doing so when mounted on a tripod.
- Review the histogram. A filter may improve the exposure balance, but it does not guarantee that highlights are protected. Check clouds, bright water, and sunlit rock separately.
Filter stacking can be convenient, such as combining a CPL with a mild ND filter, but every additional surface increases the chance of flare and vignetting. Keep the setup as simple as the scene allows.
A practical filter kit for landscape photography
If you are building a kit from scratch, a sensible starting point is a good circular polarizer matched to your largest commonly used lens, together with step-up rings for smaller lenses. Add a fixed ND filter if you regularly photograph moving water or want long exposures in daylight.
A rectangular holder system becomes more compelling when you frequently shoot scenes with a bright sky and darker land. Start with a soft-edge GND if your compositions often include irregular horizons. Add a hard-edge or reverse filter only when your subjects and lighting make that specific transition useful.
The best landscape photography filters are the ones that give you control without becoming a distraction. A polarizer can reveal texture in reflective water, an ND filter can shape movement, and a graduated filter can balance difficult light. Once you know which problem you are solving, choosing and using the right filter becomes far more straightforward.