Learn how to use Adobe Premiere Pro
Adobe Premiere Pro can look intimidating when you first open it. There are panels for bins, source clips, timelines, audio, colour and effects, and many of the terms come from professional video production. The good news is that you do not need to understand every panel before you can make a useful edit.
Most projects follow the same basic workflow: organise your files, create a sequence, assemble and trim clips, improve the audio, adjust colour, add titles, then export a finished video. Once those steps become familiar, you can explore Premiere Pro’s more advanced tools with much less guesswork.
Set Up Your Project
Before importing footage, create a clear folder structure on your computer. A typical project folder might contain separate folders for video, audio, music, graphics, project files and exports. Premiere Pro links to media files rather than copying them into the project, so avoid moving or renaming imported files unless you are prepared to relink them later.
Save the Premiere Pro project file inside the main project folder and turn on automatic saving in the application preferences. If you are working from a camera card, copy the footage to a local drive or a properly backed-up storage location before editing. Do not treat the camera card as your only copy.
When you create a project, Premiere Pro may ask about the project location and related settings. Most important sequence decisions can be made later, but it helps to know the format of your main footage: resolution, frame rate and whether it was recorded vertically or horizontally.
Import and Organise Your Footage
You can import media through File > Import, by dragging files into the Project panel, or with the Media Browser. The Media Browser is useful when working with camera media that uses a folder structure, because it can help you navigate the card contents without importing unrelated files. For ordinary video files, the standard Import command is usually just as convenient.
Imported clips appear in the Project panel. Create bins—Premiere Pro’s term for project folders—to keep the panel manageable. You might use bins for:
- A-camera and B-camera footage
- B-roll or cutaway shots
- Interview and location audio
- Music and sound effects
- Logos, photographs and other graphics
- Sequences and completed exports
Rename clips only if doing so will make them easier to identify, and use markers or clip notes for important takes. Colour labels can also help you distinguish interviews, selects or approved material at a glance. These small organisational habits save time once a project contains dozens of clips.
Create a Sequence
A sequence is the timeline where you arrange and edit your clips. The sequence determines the frame size, frame rate, audio settings and other properties of the edit.
One simple way to create a sequence is to drag your main clip onto the empty timeline. Premiere Pro can create a sequence that matches that clip’s settings. This is convenient when your footage comes from one camera and was recorded in the format you want to deliver.
If you are combining different cameras or sources, create or adjust the sequence deliberately. For example, a project intended for standard horizontal 4K delivery might use a 3840 × 2160 frame size, while a vertical social video may use a 1080 × 1920 frame size. Choose the frame rate based on the footage and the intended delivery rather than changing it casually during the edit.
Mixed frame rates are workable, but clips may need to be interpreted or converted when you want consistent motion. If a clip does not match the sequence, Premiere Pro will normally ask whether you want to change the sequence settings or keep the existing settings. For a beginner, keeping the sequence settings and allowing Premiere Pro to scale or conform the clip is often the safer choice.
Build the Edit
Start with an Assembly
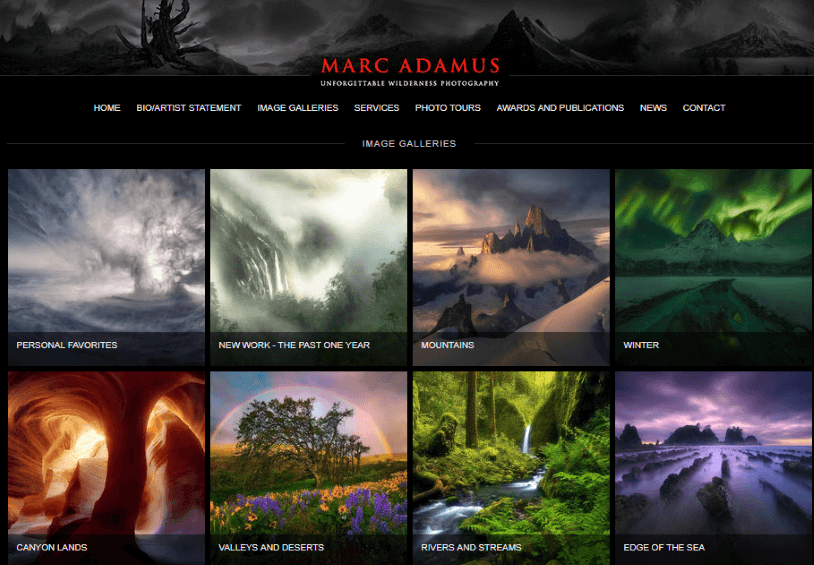
Begin by creating a rough assembly rather than trying to perfect every cut immediately. Place the interview, voiceover or main story element on the timeline first, then add supporting shots above it. For a behind-the-scenes photography video, the main track might include a short introduction and interview, with camera setup, lighting and subject footage used as B-roll.
Double-click a clip in the Project panel to open it in the Source Monitor. Set an in point and out point to select the useful portion, then insert or overwrite that selection into the timeline. This is often more precise than dragging an entire clip into the edit.
For simple editing, two tools are especially useful:
- Selection tool (V): Select, move and adjust clips.
- Razor tool (C): Cut a clip at the playhead position.
Do not worry about music, transitions or detailed colour work during the first pass. Concentrate on the order of the shots and whether the video communicates what you want to say.
Trim and Refine
After the assembly is complete, watch it from beginning to end and remove anything repetitive, unclear or slow. The timing of a cut can often be improved by trimming a few frames from the start or end of a clip.
The Ripple Edit tool (B) trims a clip while closing the resulting gap and moving later clips along the timeline. It is useful when shortening a section without leaving empty space, but check the tracks it affects before making the trim. A locked or carefully arranged music track may not move in the way you expect.
Use the Rolling Edit tool (N) when you want to move a cut point without changing the overall duration of the sequence. It extends one clip while shortening the neighbouring clip. This is helpful when the action in a shot starts slightly too early or too late.
Keep an eye on the track targeting and snapping controls in the timeline. Snapping can help clips align cleanly with the playhead or other edits, while track locks protect finished material from accidental changes. Press the spacebar to play the timeline and use the timeline zoom controls, or the plus and minus keys, for more precise work.
Improve the Audio
Good audio has a major effect on how polished a video feels. Listen through headphones as well as speakers, and watch for dialogue that is too quiet, distorted or competing with music.
Video clips often contain linked audio. Right-click a clip and choose Unlink if you need to edit the video and audio separately—for example, when keeping the picture but replacing the location sound with a voiceover. You can also adjust clip volume directly in the timeline or through the Audio workspace.
The Essential Sound tools can provide a useful starting point. Select a clip, assign an appropriate type such as Dialogue or Music, and then adjust the available controls. Dialogue may benefit from modest noise reduction, while music usually needs to be lowered beneath speech. Apply changes carefully: aggressive noise reduction or loudness processing can make voices sound unnatural.
Audio waveforms make speech pauses and musical phrases easier to identify, but do not cut every shot mechanically to the beat. Use the rhythm of the sound as a guide while allowing the visuals and story to determine the final timing.
Correct Colour with Lumetri Color
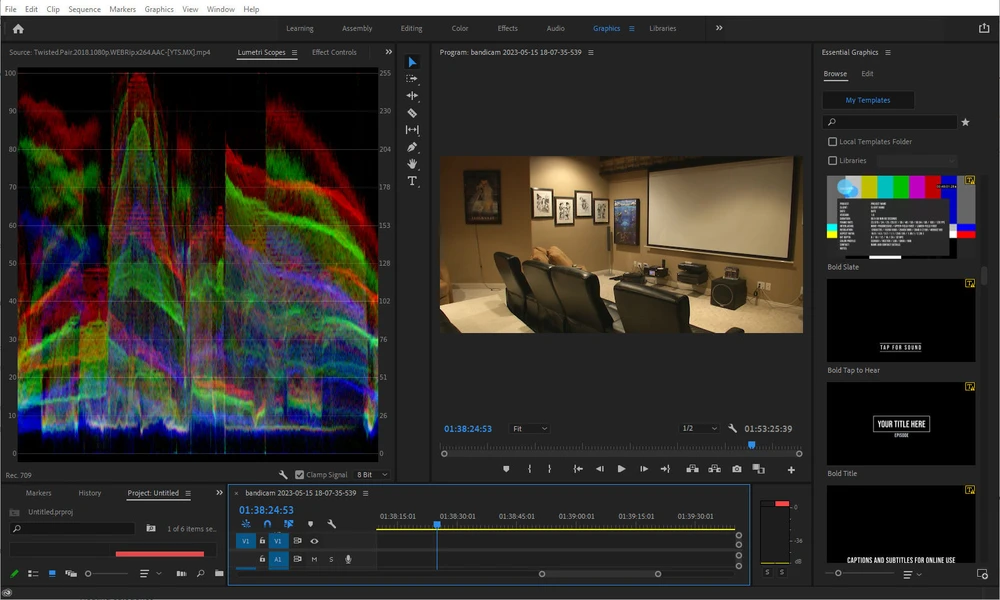
Use the Lumetri Color tools to correct exposure and white balance before creating a particular look. If clips from different cameras do not match, correct them individually first. A creative grade applied to inconsistent footage will not solve the underlying differences.
- Basic Correction: Adjust white balance, exposure, contrast, highlights, shadows, whites and blacks.
- Creative: Apply a look or adjust its intensity. A LUT can be useful, but it is not a replacement for proper exposure and colour correction.
- Curves: Make controlled tonal adjustments or work with individual colour channels.
- Colour Wheels: Adjust shadows, midtones and highlights separately.
- HSL Secondary: Isolate a selected colour range for a targeted adjustment, such as refining a skin tone or reducing a distracting colour.
Make small adjustments and check skin tones regularly. If you need to apply the same correction to several similar clips, you can copy the corrected clip, select the destination clips, choose Paste Attributes, and enable the relevant Lumetri effect. Recheck each clip afterwards, since differences in lighting and exposure may still require individual changes.
Add Titles and Graphics
For a name, location, date or short description, create text in the Program Monitor or use the current text and graphics controls in Premiere Pro. Templates can speed up the process, but a simple title is often easier to read and less distracting than a complex animation.
Keep important text inside the visible area of the frame, particularly when delivering for phones or platforms that add their own interface elements. Check spelling, contrast and duration. A title should remain on screen long enough to read comfortably, but it should not cover the subject or compete with dialogue.
Export the Finished Video
When the edit is ready, go to File > Export > Media. Choose an output filename and location, then check the preview, frame size and frame rate before exporting.
For many online videos, H.264 is a practical delivery format. A preset such as Match Source – High Bitrate can be a useful starting point, but inspect the settings rather than accepting them blindly. Make sure the export uses the intended resolution, frame rate and aspect ratio.
Use a higher-quality master or an editing-friendly format when a client needs to continue working on the project. The appropriate choice depends on the client’s workflow, storage limits and delivery requirements. A highly compressed viewing file is not always a suitable archive or post-production master.
If you need several versions, use Queue to send exports to Adobe Media Encoder. This lets you continue working in Premiere Pro while the queued files are processed. Before delivering anything, watch the exported file from start to finish—preferably on the device or platform where it will be viewed—to catch missing audio, unwanted black bars, incorrect titles or export glitches.